
How to: Install 3 Piece Miata A/C vents

If you're reading this... I'll assume you're interested in a set of custom a/c vents for your miata, perhaps you have even ordered a pair for yourself! Well you are in the right place! This install how-to is long overdue but I hope it will help you get your vents fitted in your car with relative ease. This is a relatively quick process. I have even installed vent sets at car shows and club meets.
Step 1: OEM vent removal
The first step is to remove your stock vents from the dash. I find the middle two vents in the tombstone to be relatively easy. Many of you may have already removed these if you have installed an aftermarket radio or really anything else in the interior (I feel like everything I do requires the removal of the console and tombstone). There are a plethora of ways to remove the vents and you can find others methods on Youtube and forums such as miata.net. I found that the first time I removed them, which is the most difficult since the springs and plastic are the tightest fit, using something like rope or zip-ties laced through one of the main fins and back out was easiest. If you are careful, you may use pliers (perhaps with something rubbery in between to prevent scratching the oem vent) and a small, thin tipped flat head screwdriver around the edge of the trim ring (be very careful with this part as it is easy to dent and scratch the ring) to pull and pry the whole piece out.
The two side vents are a bit more difficult, as the padding around the crash pad material likes to hold on to the vent. You may find yourself having to carefully pull of the drivers side small pad in the process. This usually happens on my own car but I have installed on others that did not require removal. With all of this, take your time, and be careful not to scratch your oem pieces with extra care around the trim rings.
Step 2: Disassembly of OEM vents

With all of your vents out of the car, find a comfortable place to take them apart, I recommend a desk, table, or workbench. The tools you will need are a pair of sharp scissors, and a small jewelers screwdriver. I find that the largest size of standard jewelers screwdriver fits best. My current favorites are actually either one of my small husky tools screwdrivers or one I have from a kobalt set.
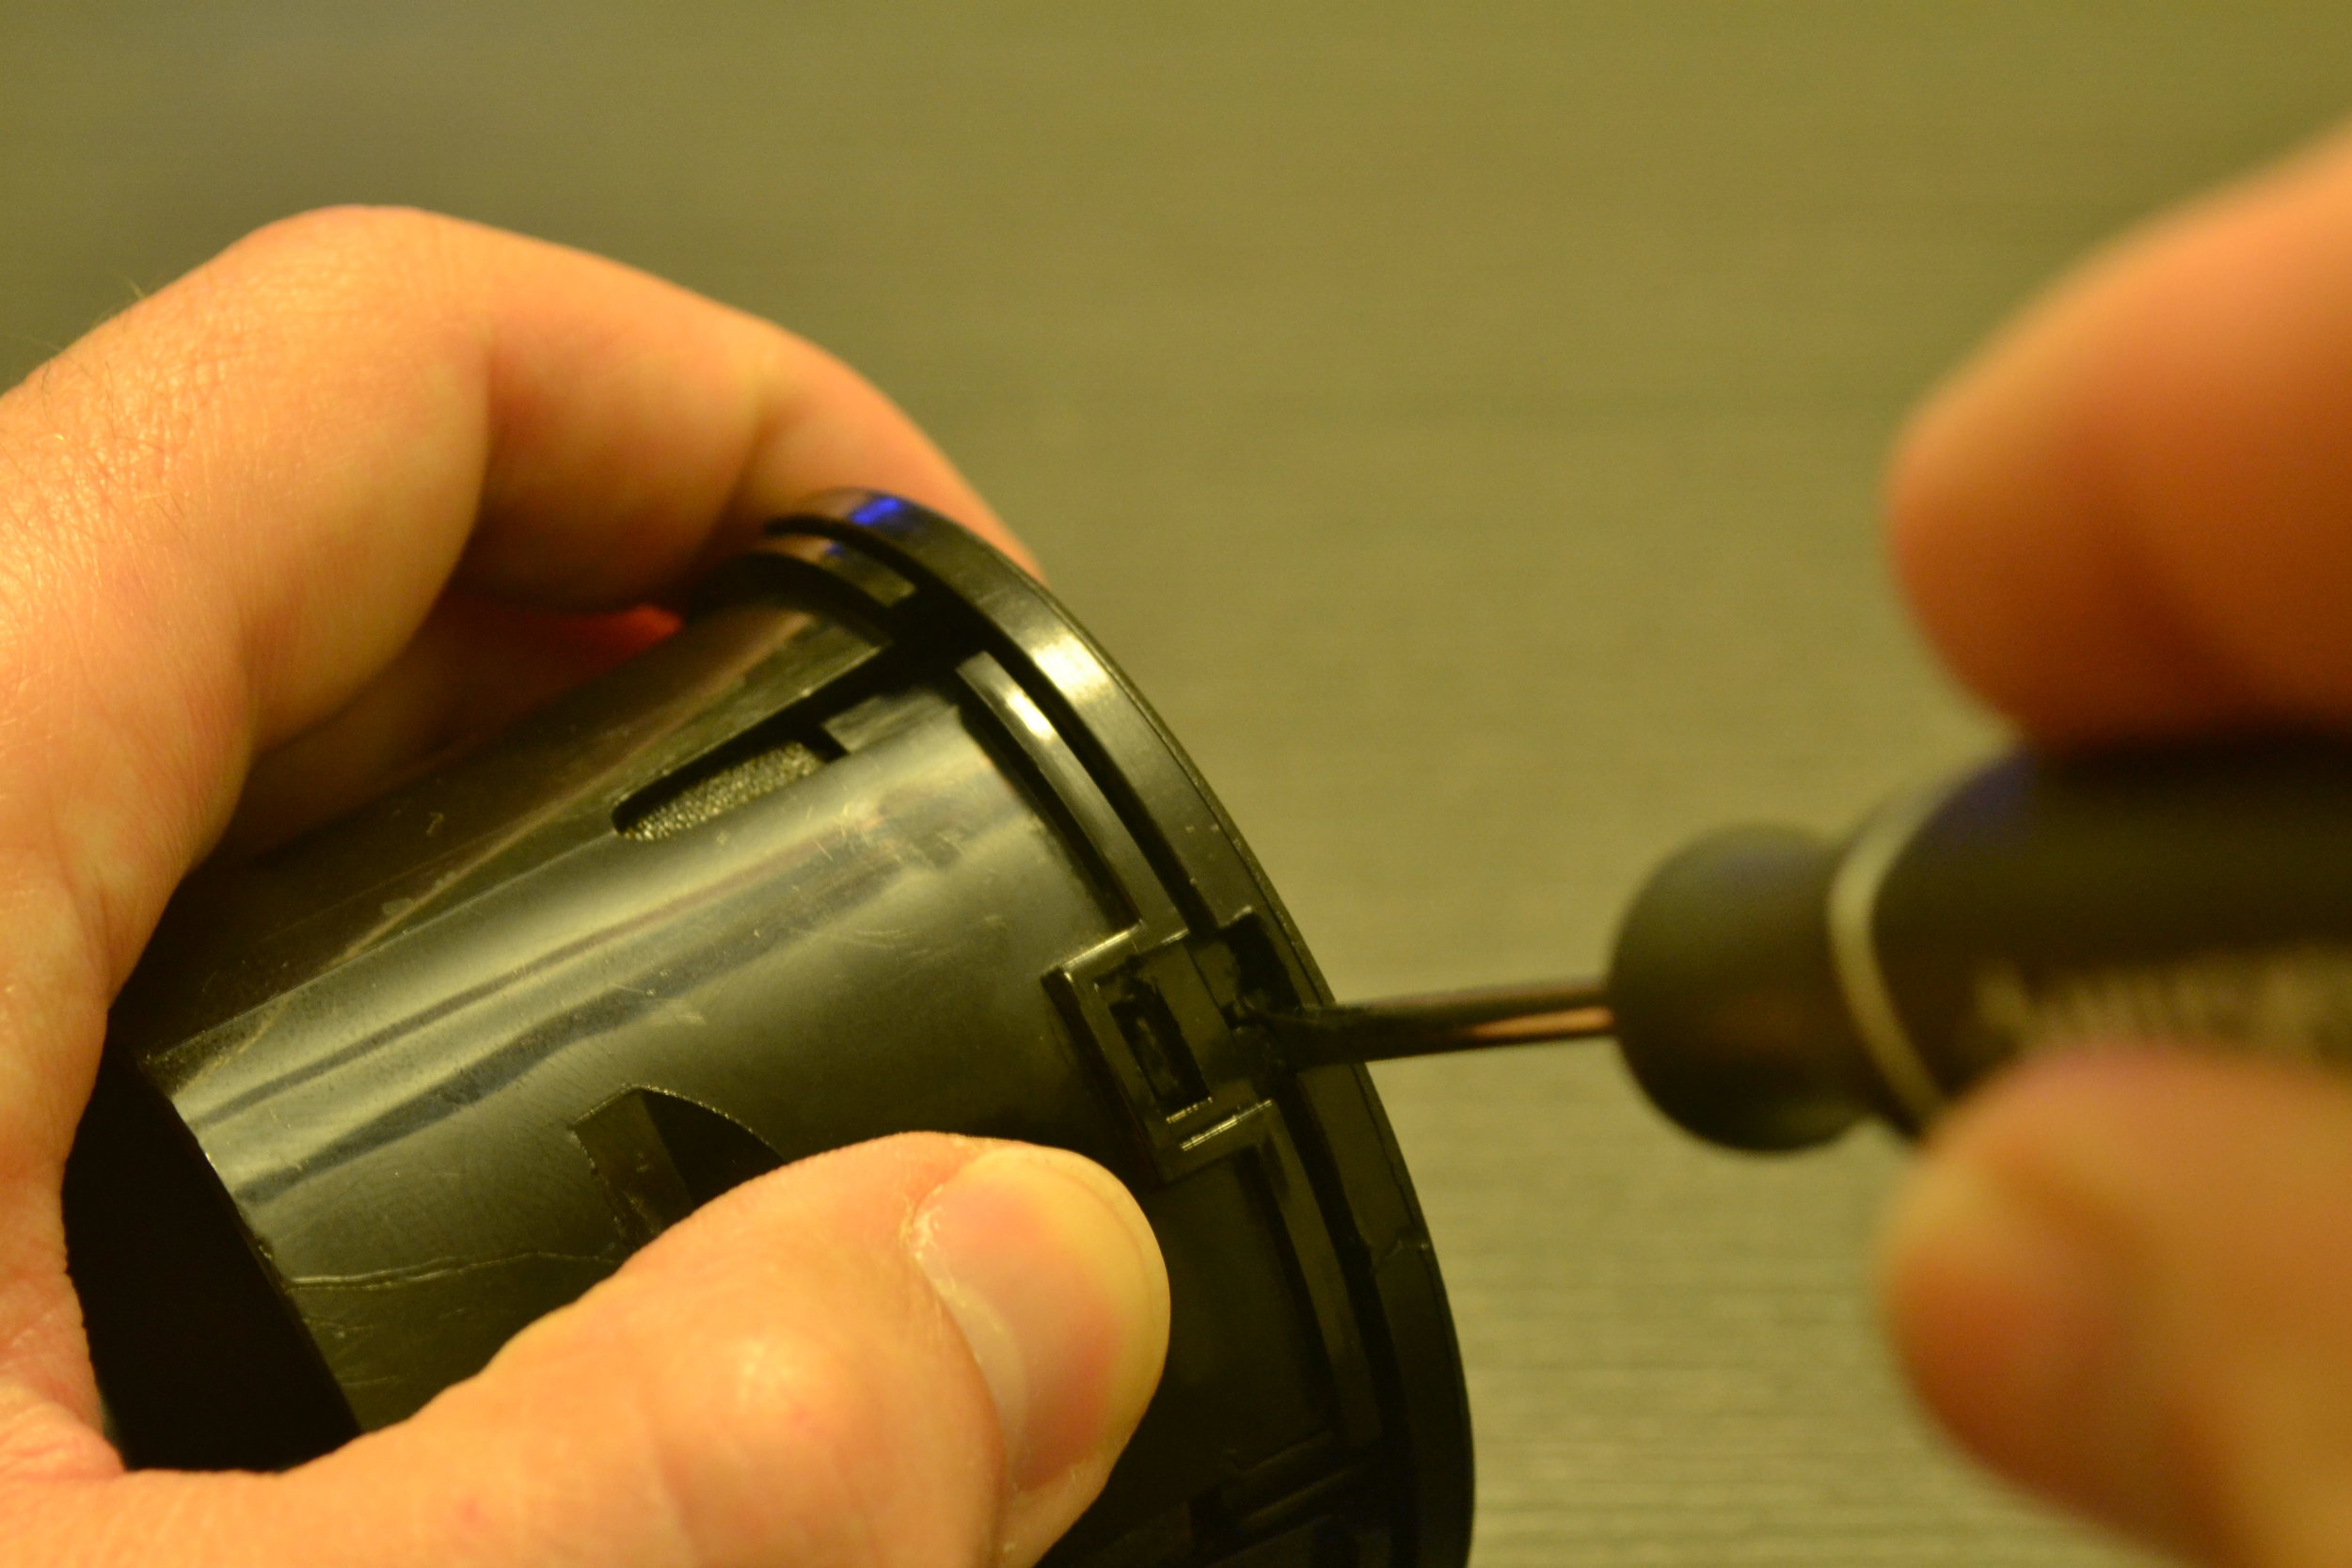
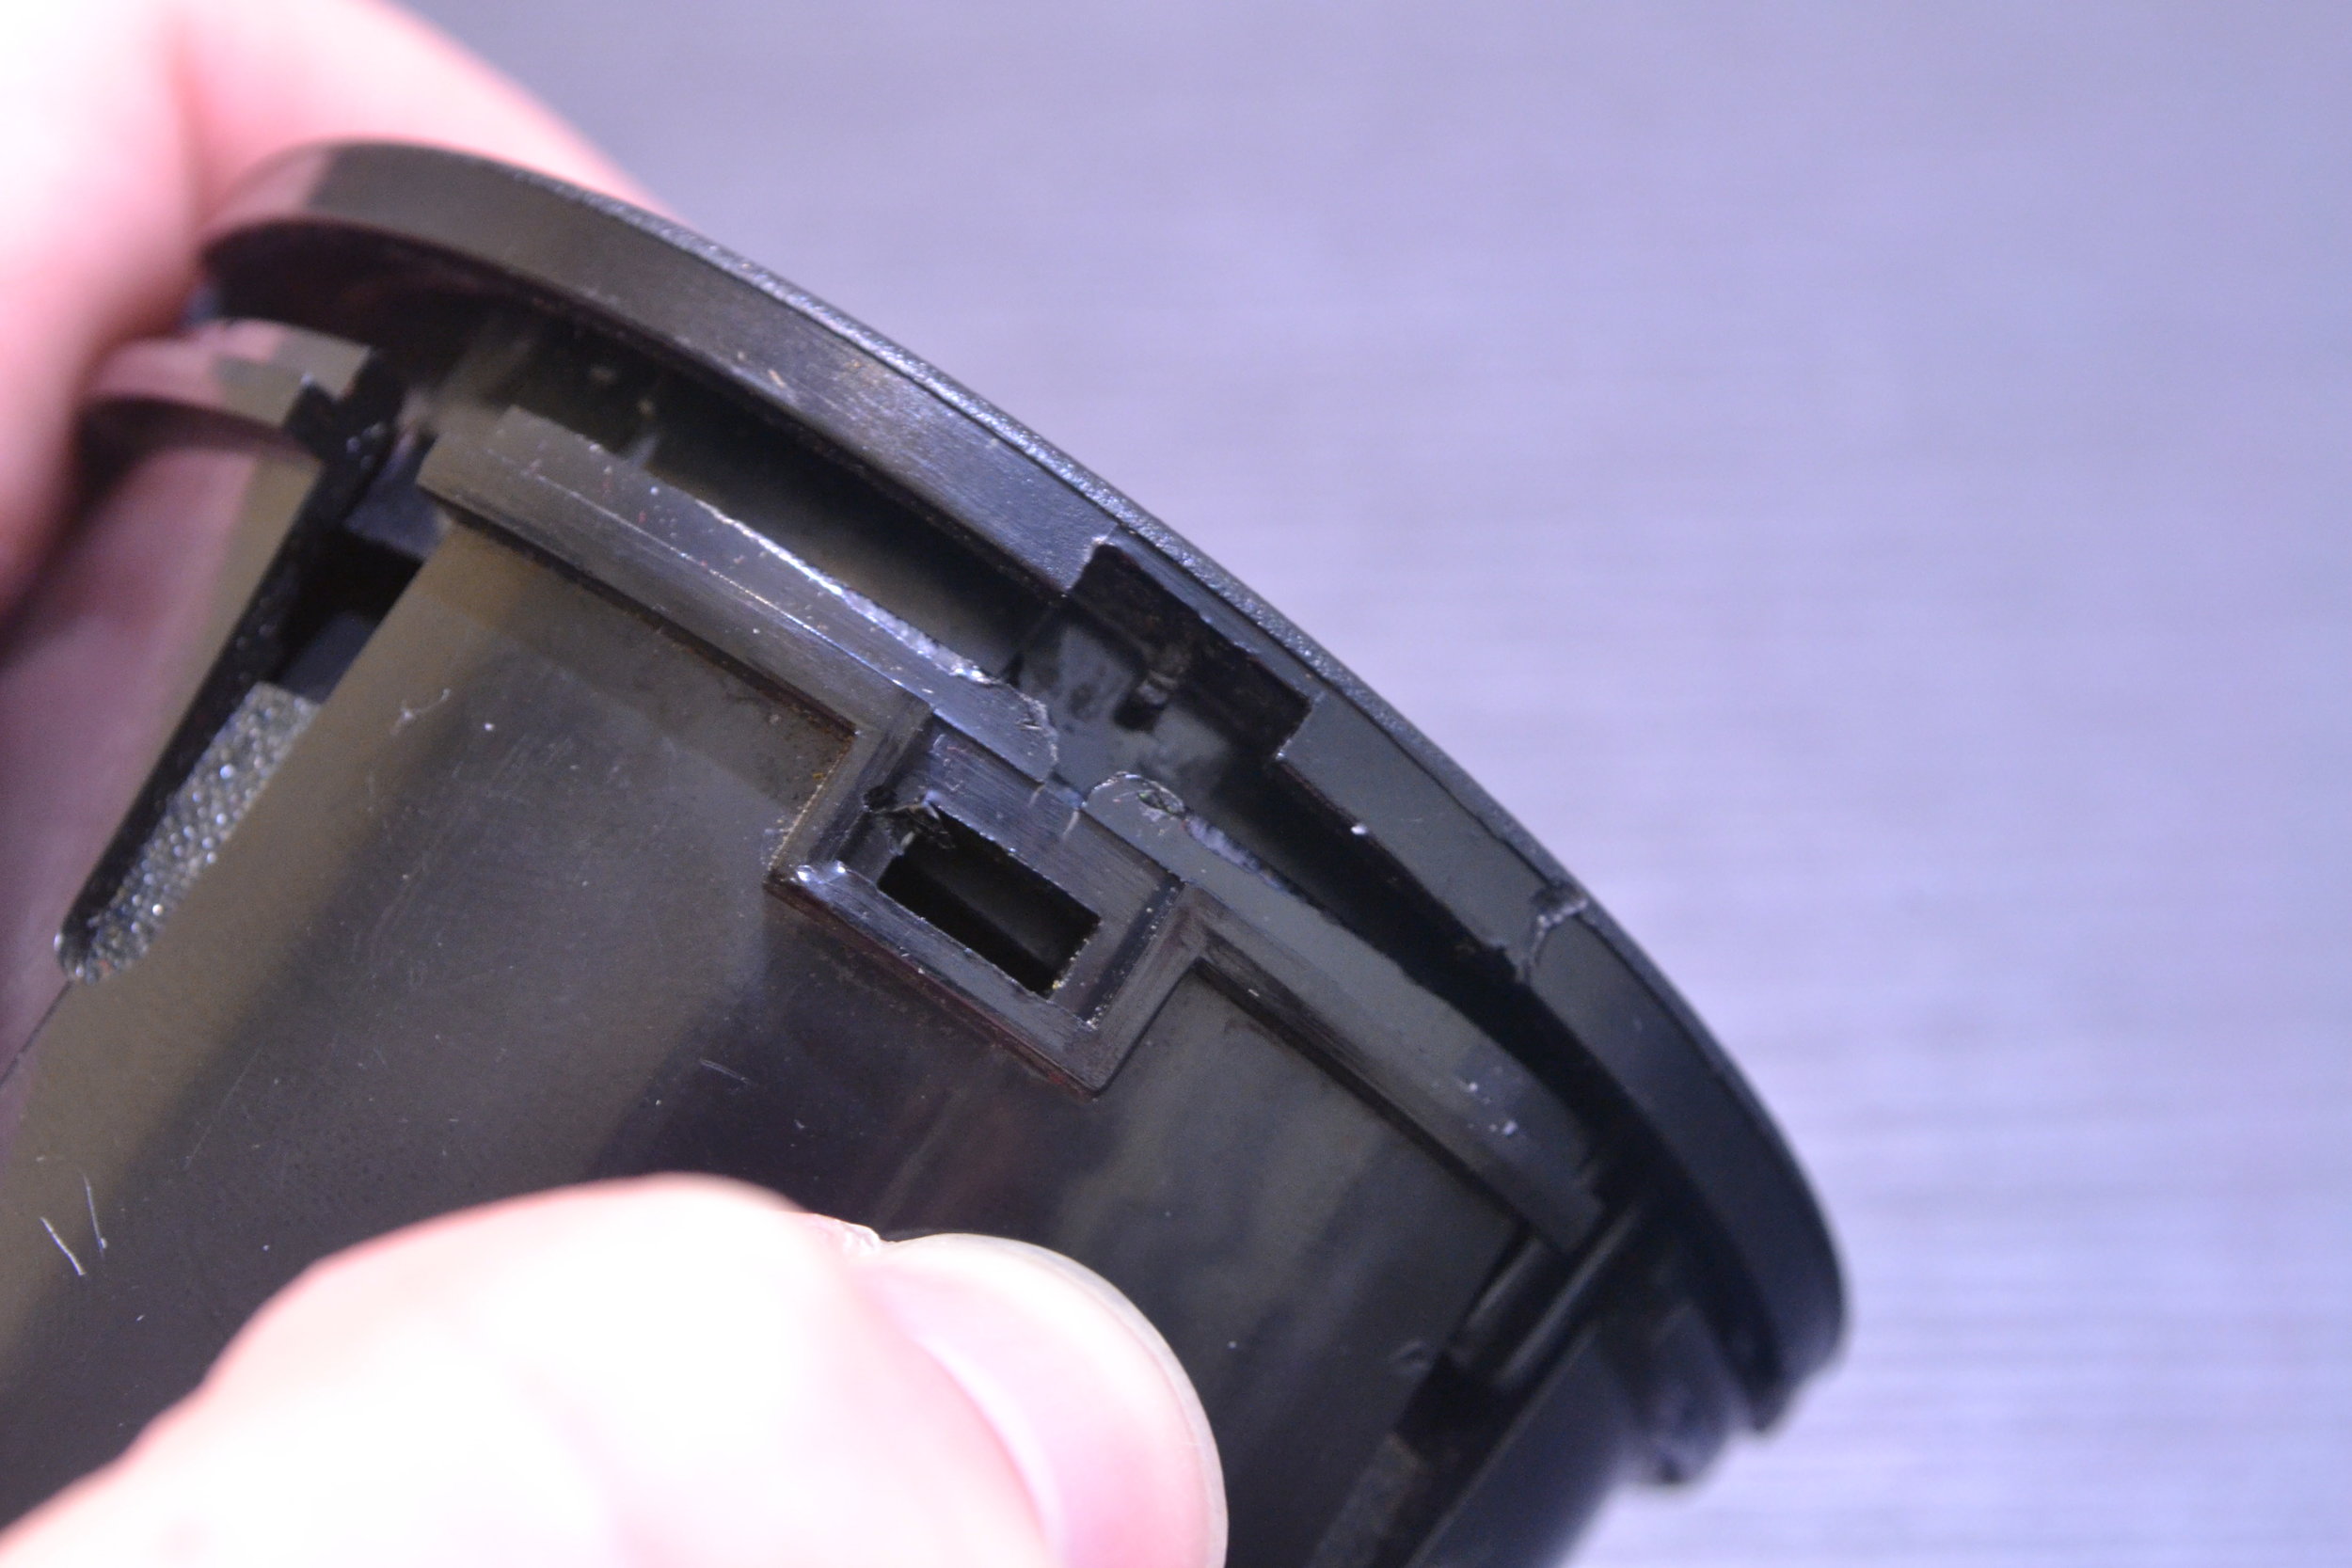
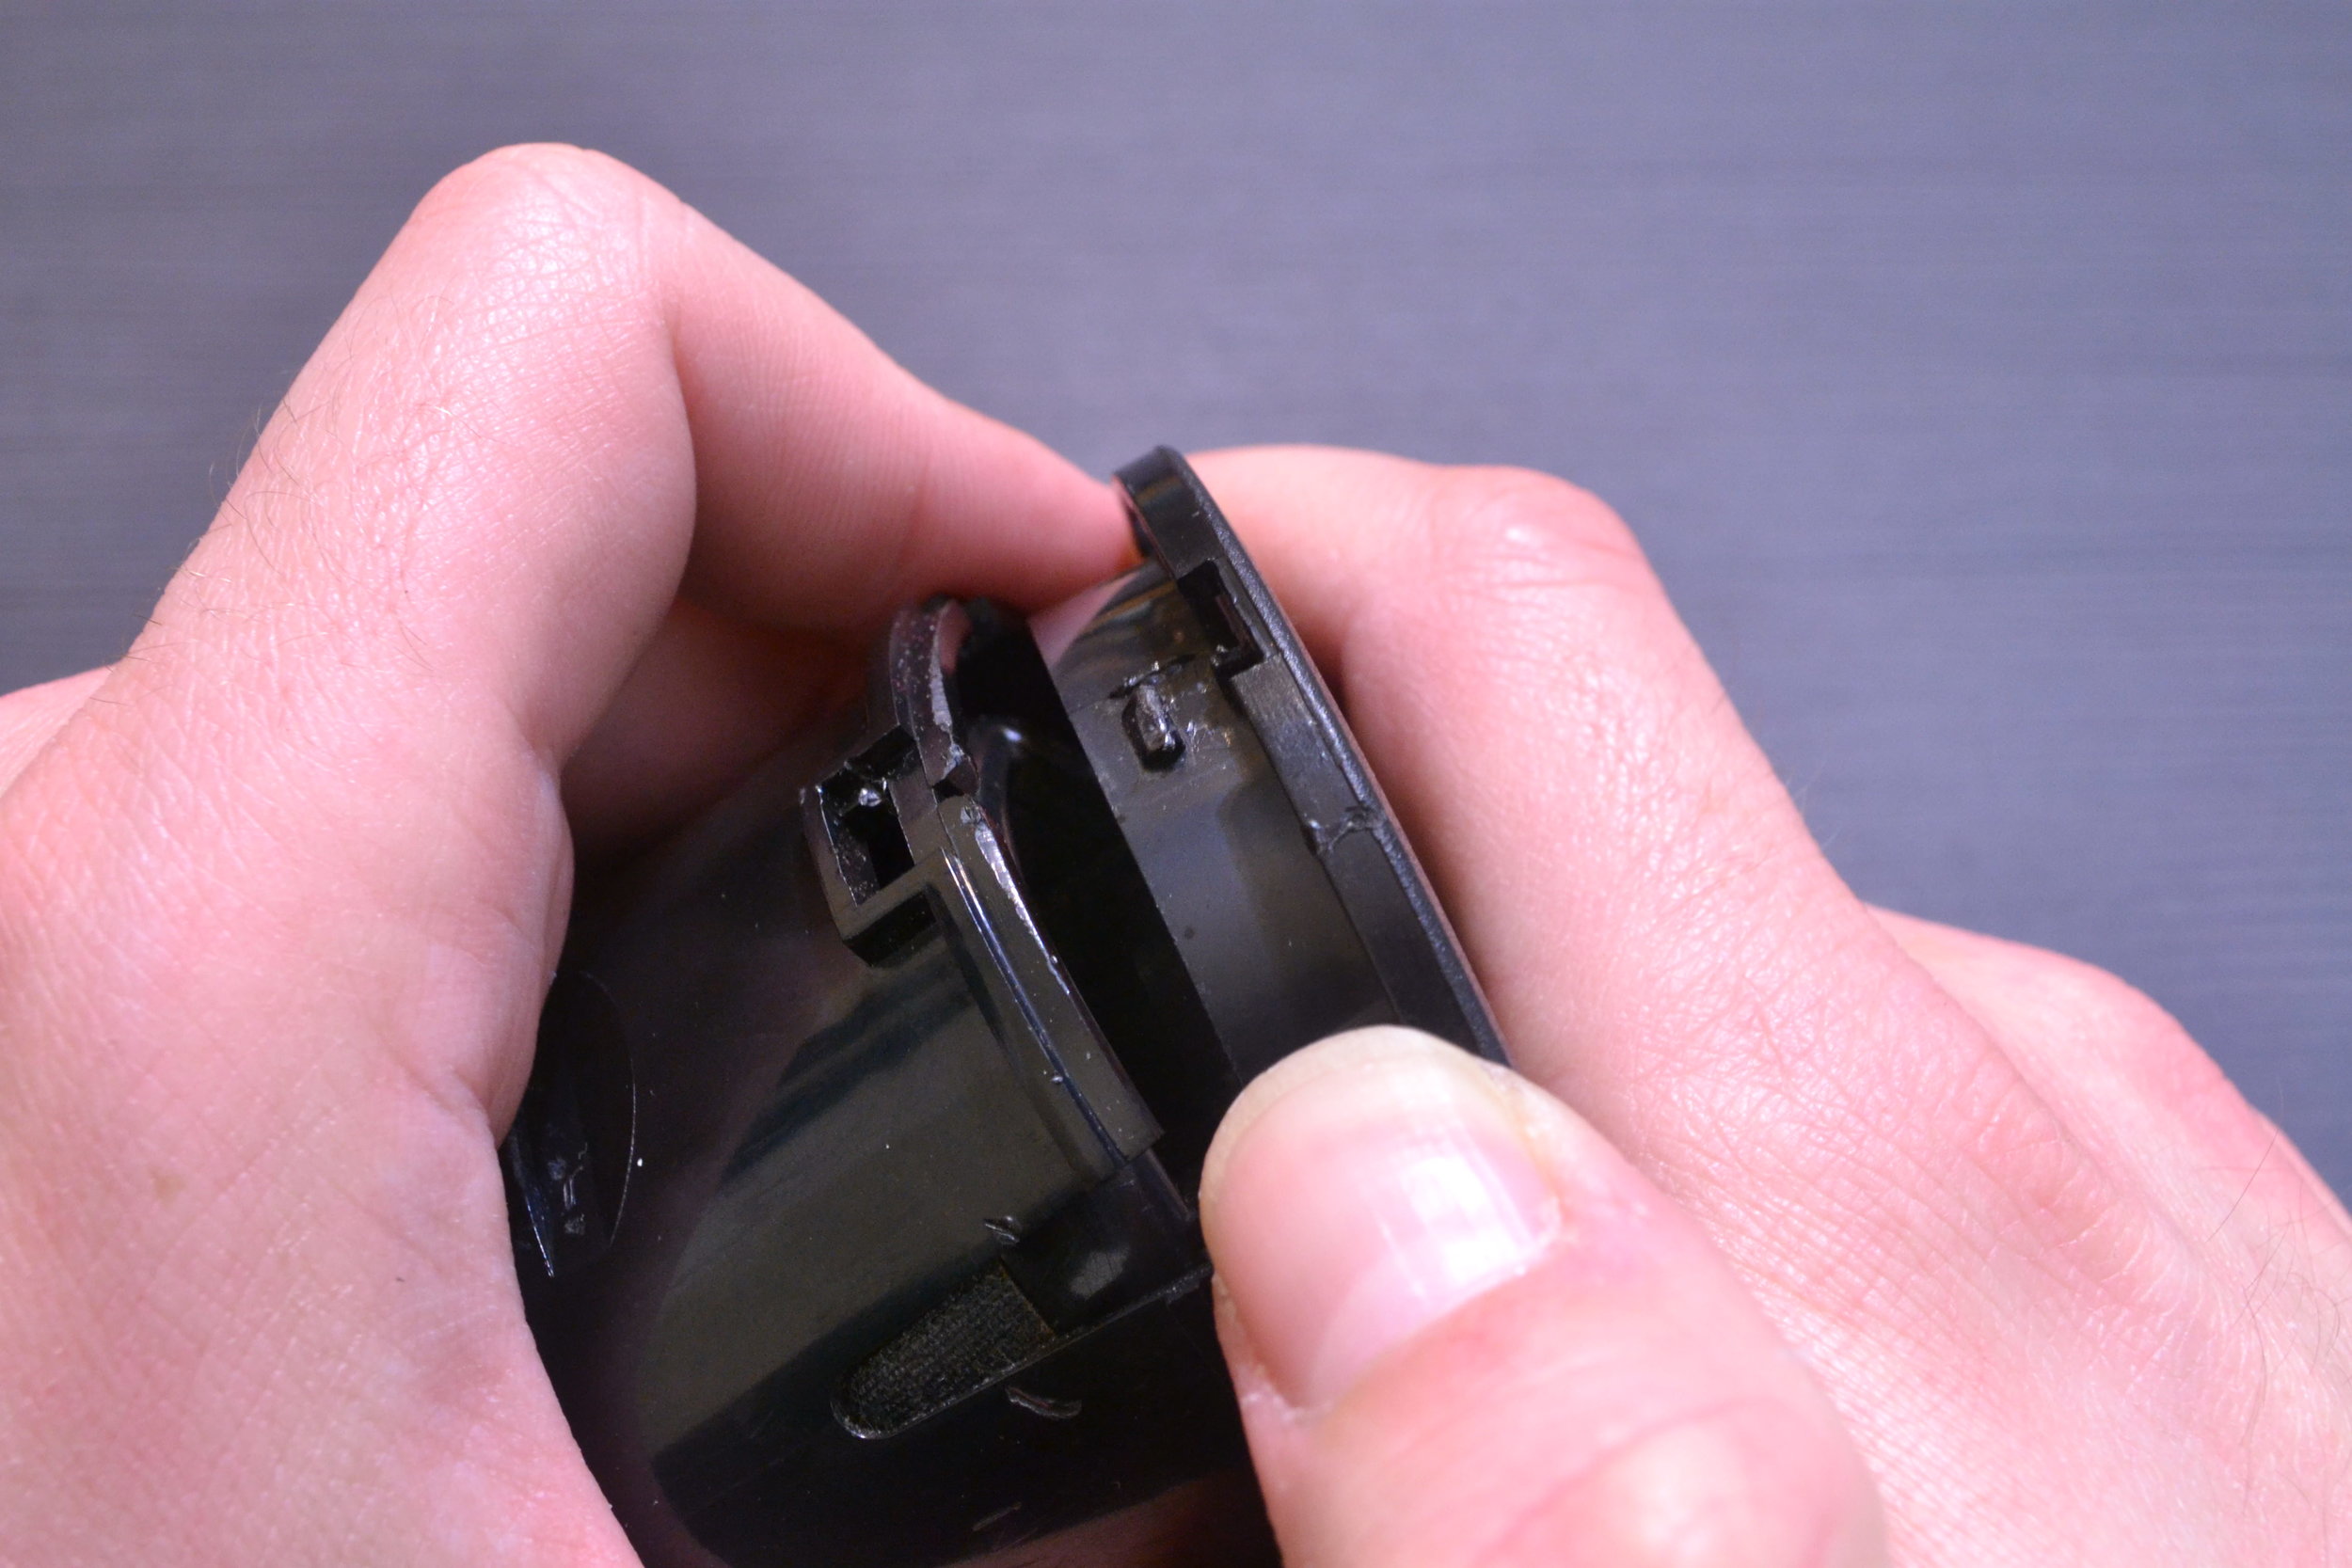
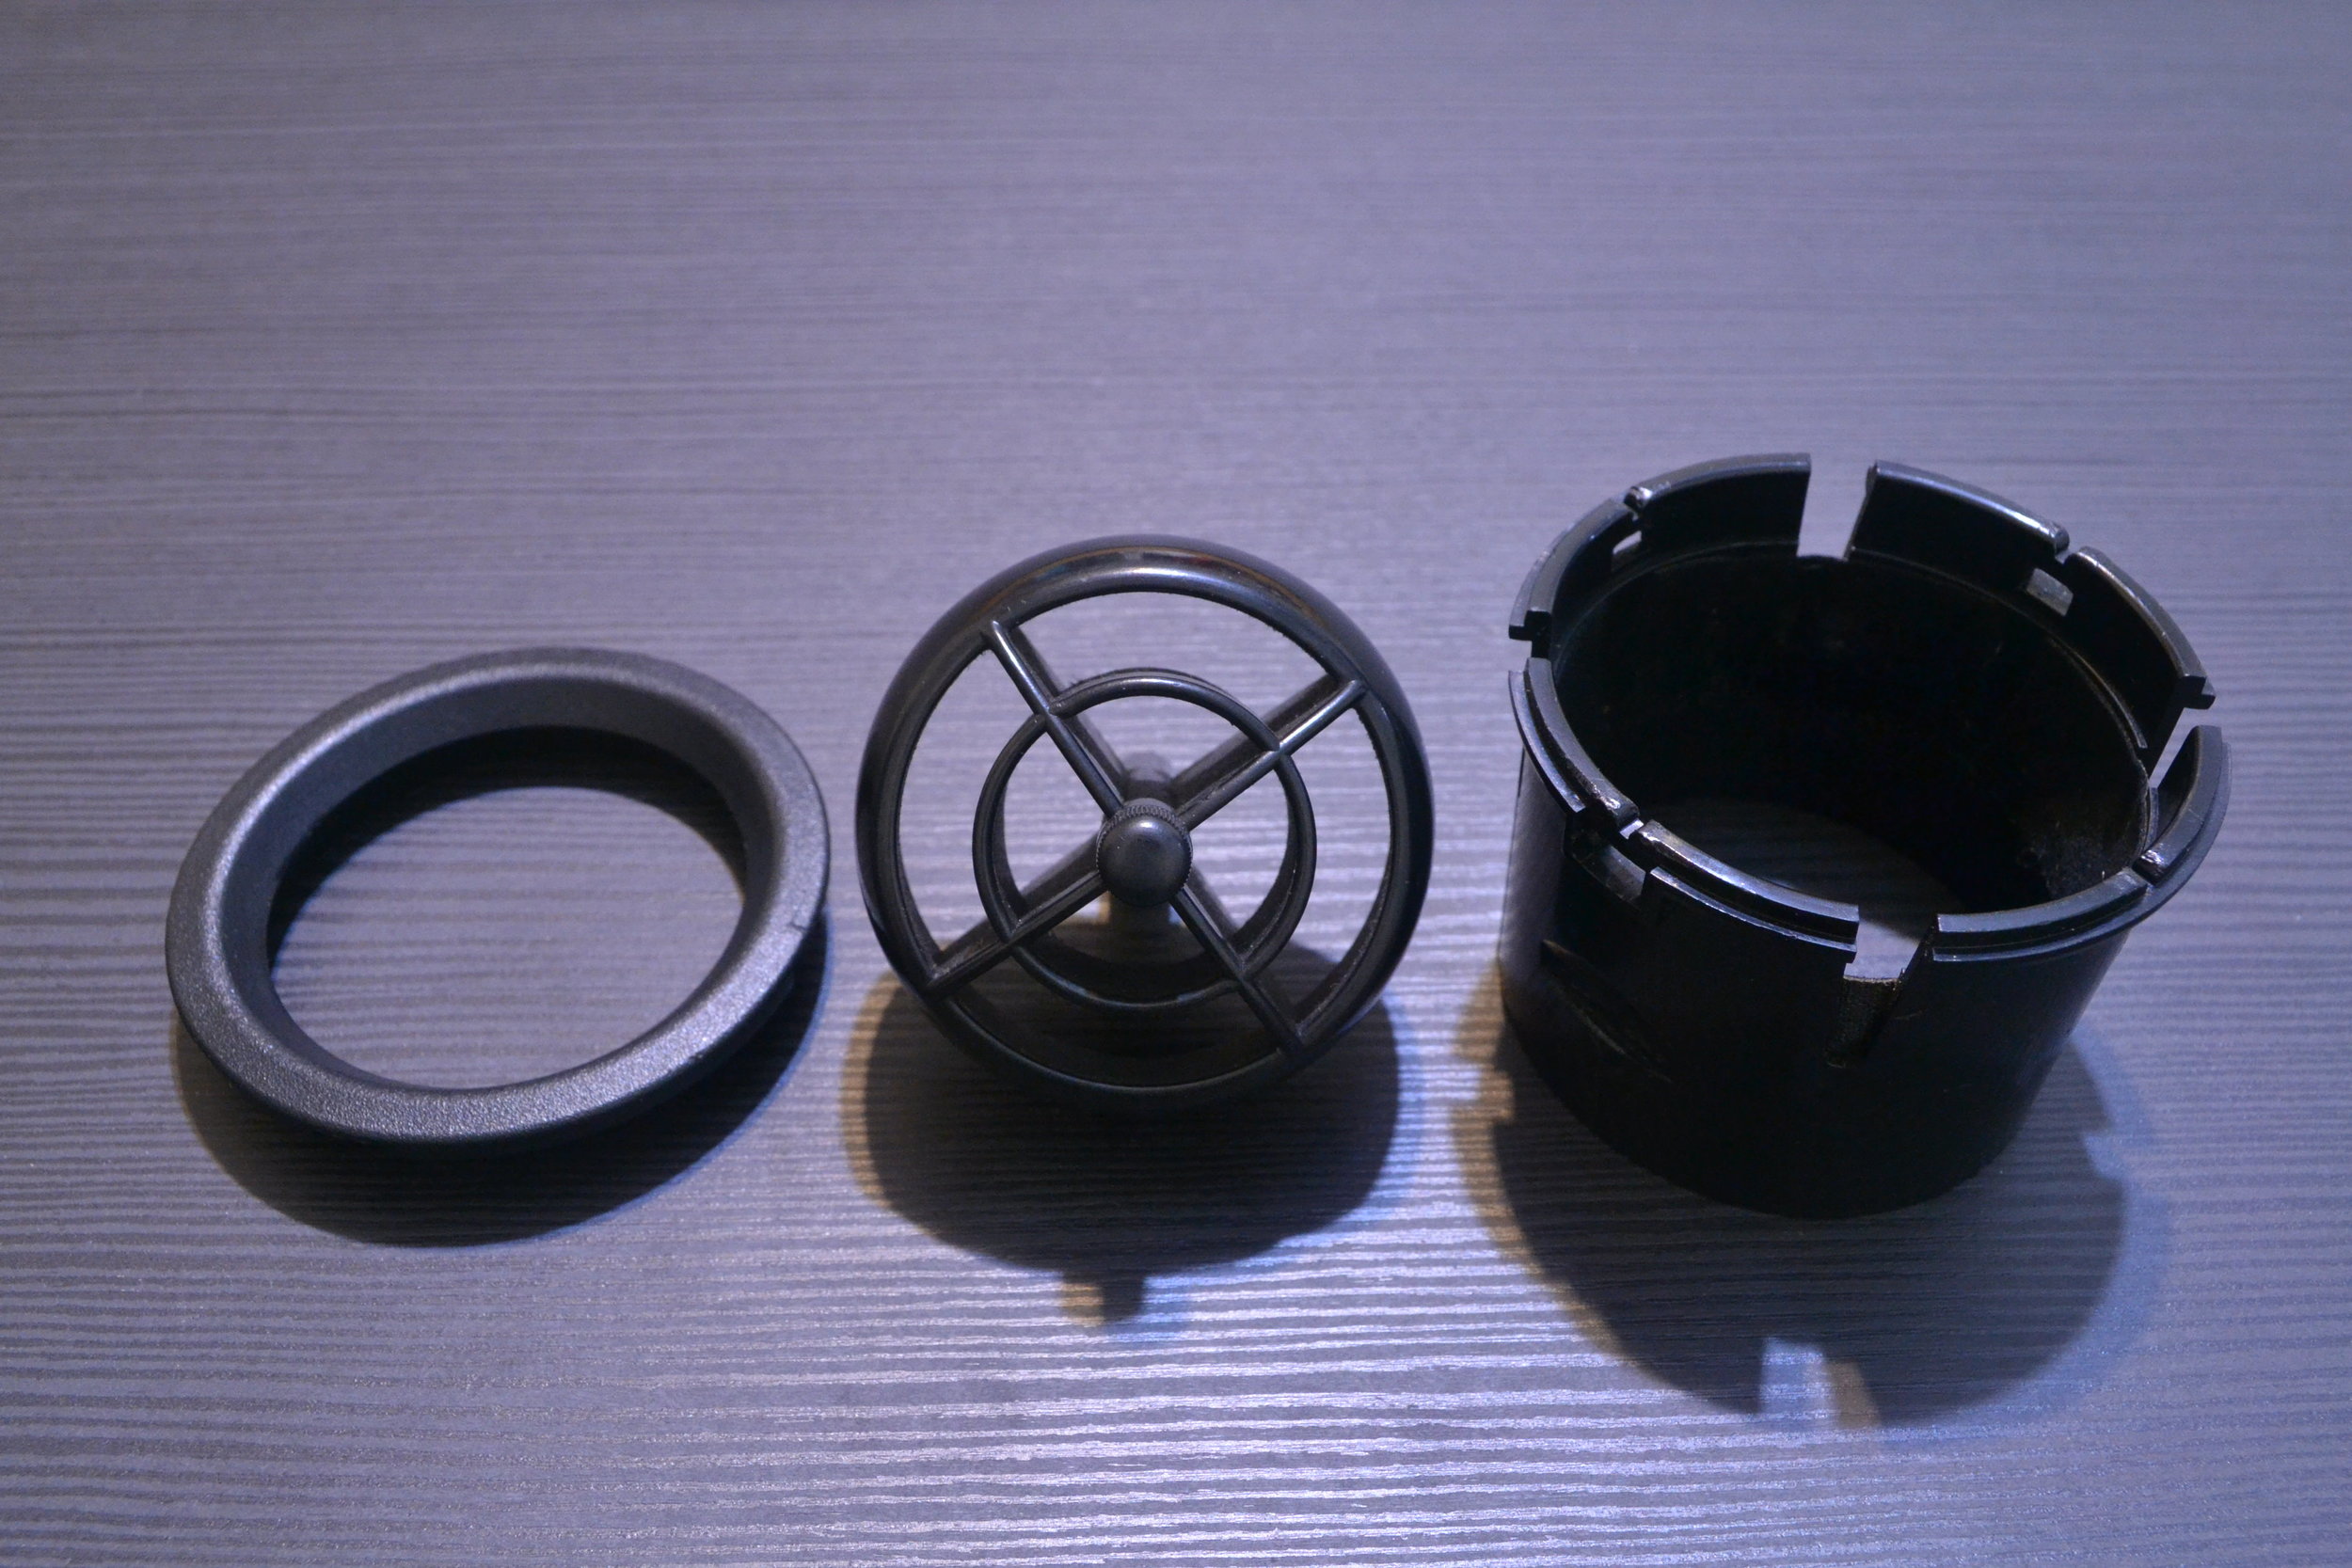
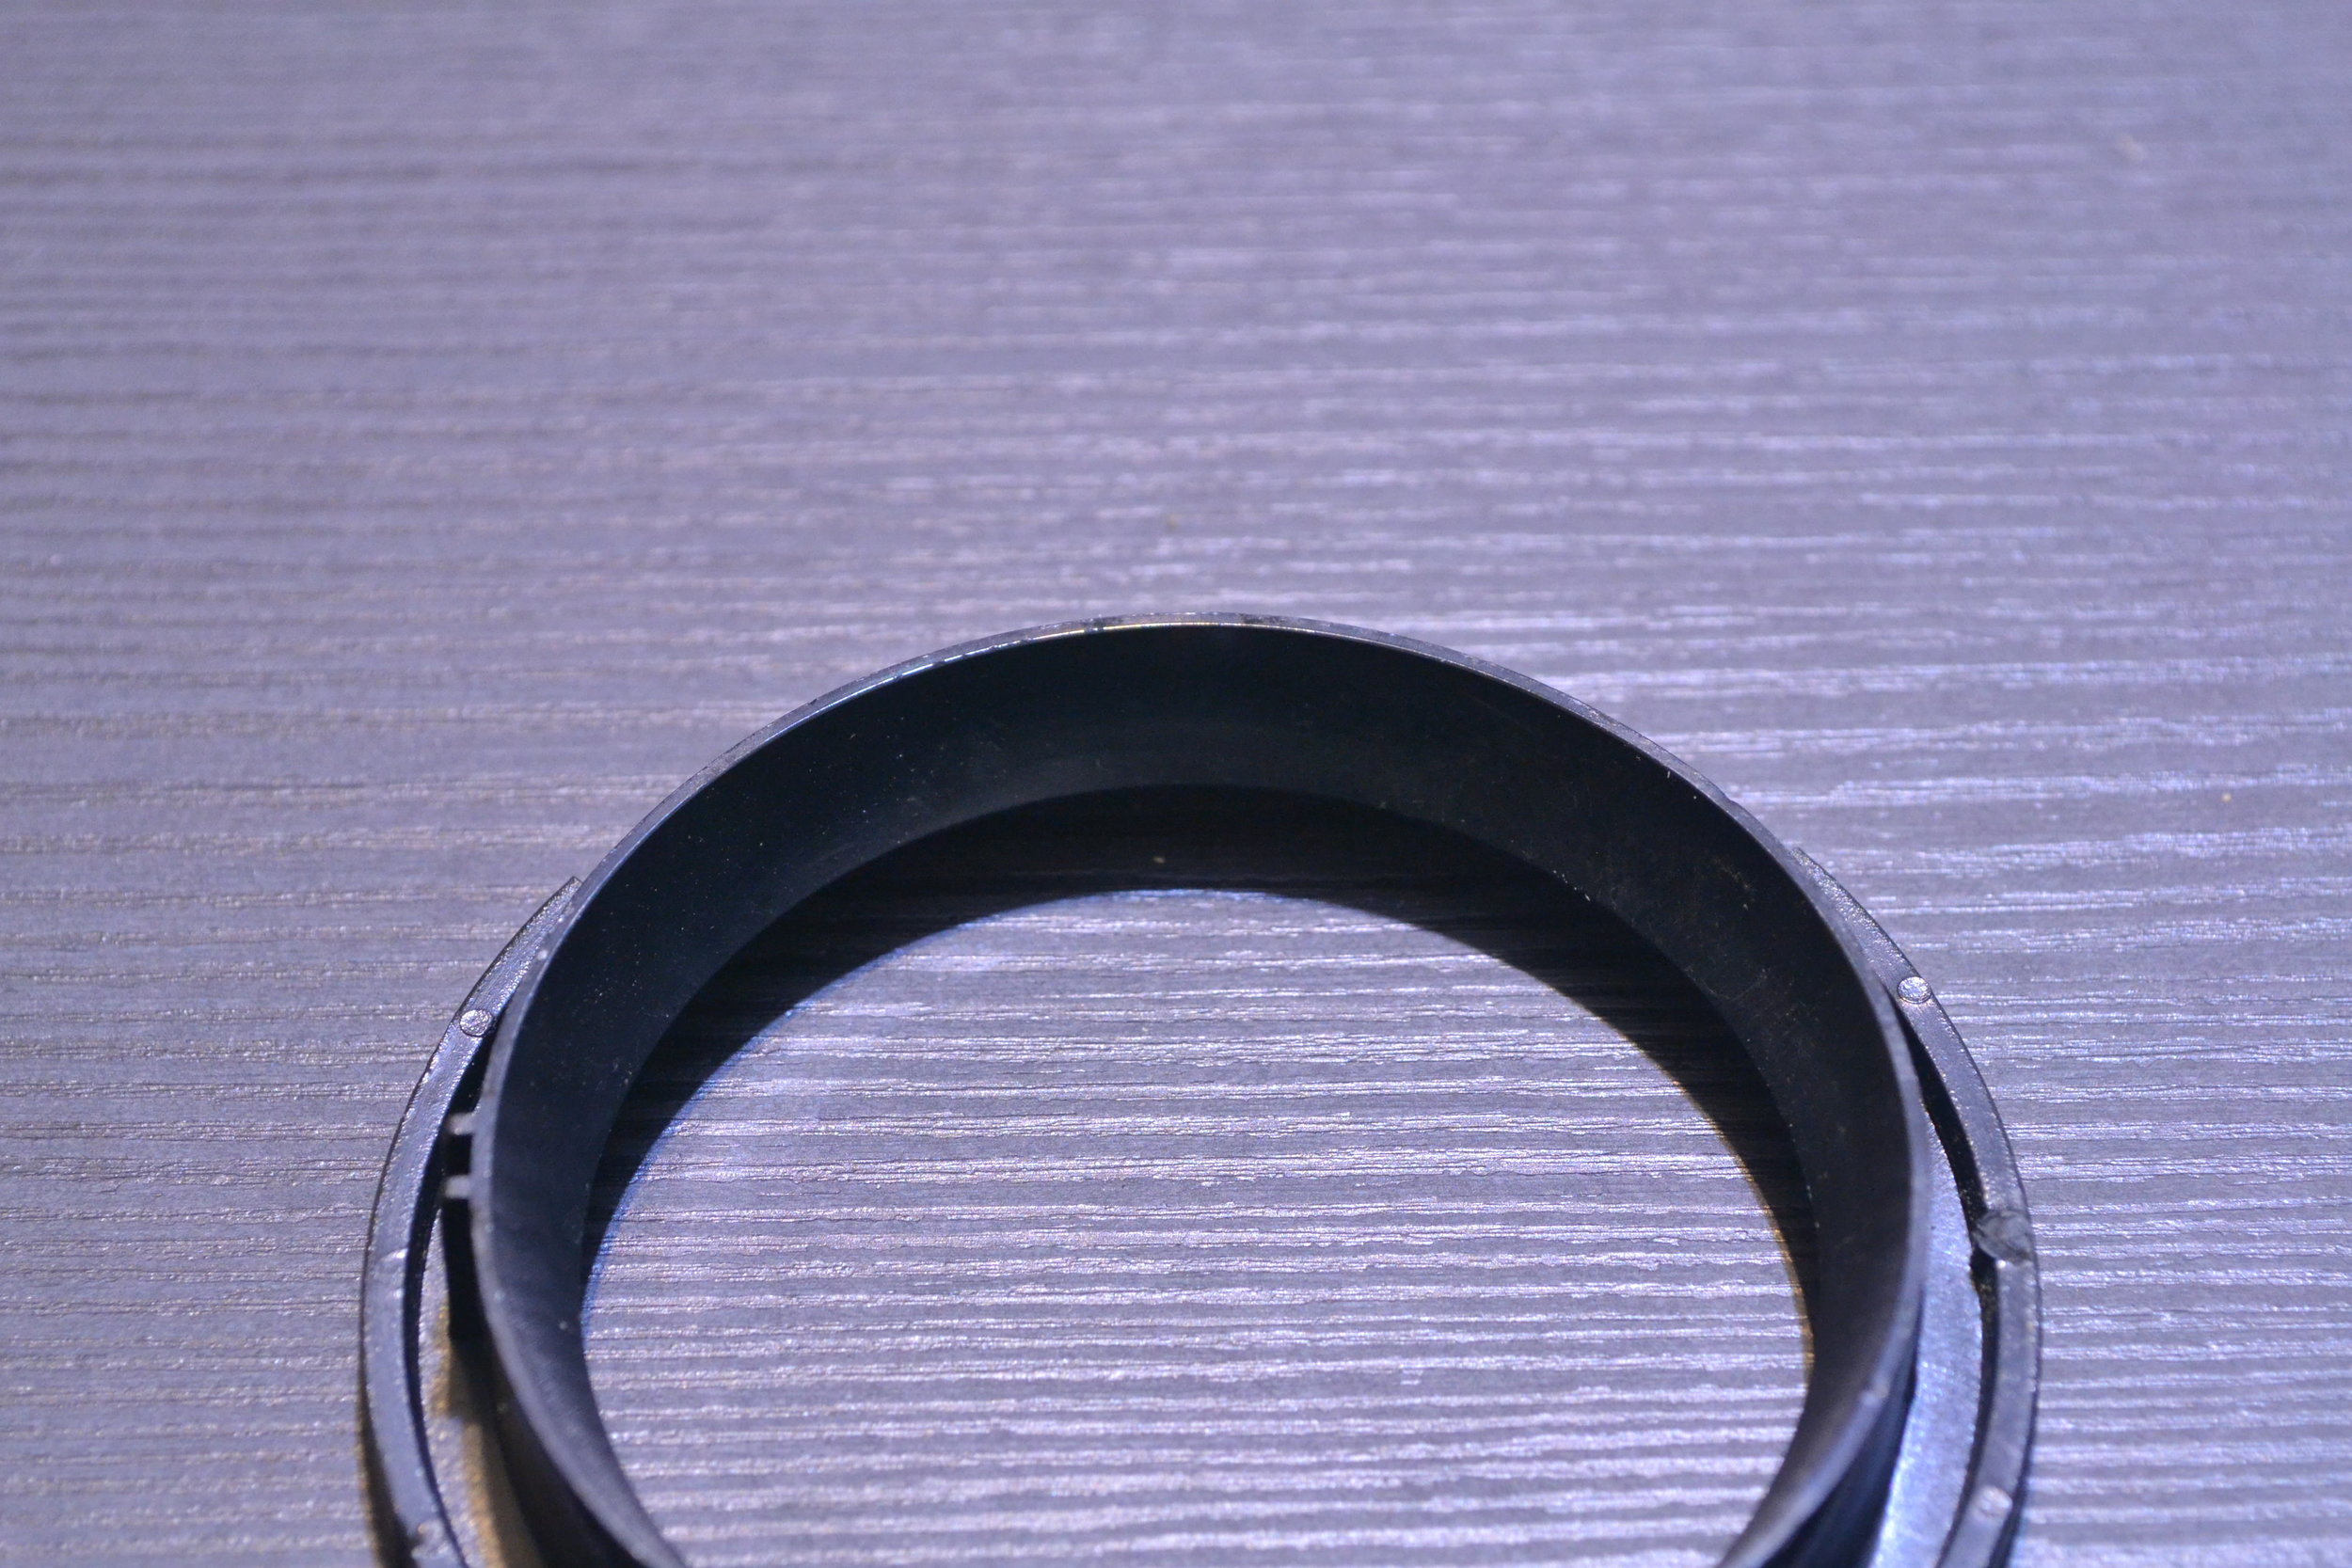
Insert the screwdriver into the gap between the housing and retainer ring, just above one of the four clips. Then pry the screwdriver toward the front face of the vent until it clicks out of place. See the picture I have included for this step. Sometimes it is impossible not to damage one of the clips, but I can assure you, after dozens of times installing and removing these vents, my personal set has some rounded clips but they still function perfectly. It actually seems that the final click into place when re-assembling them is independent of the clips. After prying over three of these clips, you should be able to angle the whole front ring off the housing. With that, you can simply push the eyeball vent out of the housing and you will have the vent completely apart.
Step 3: Preparation for Re-Install
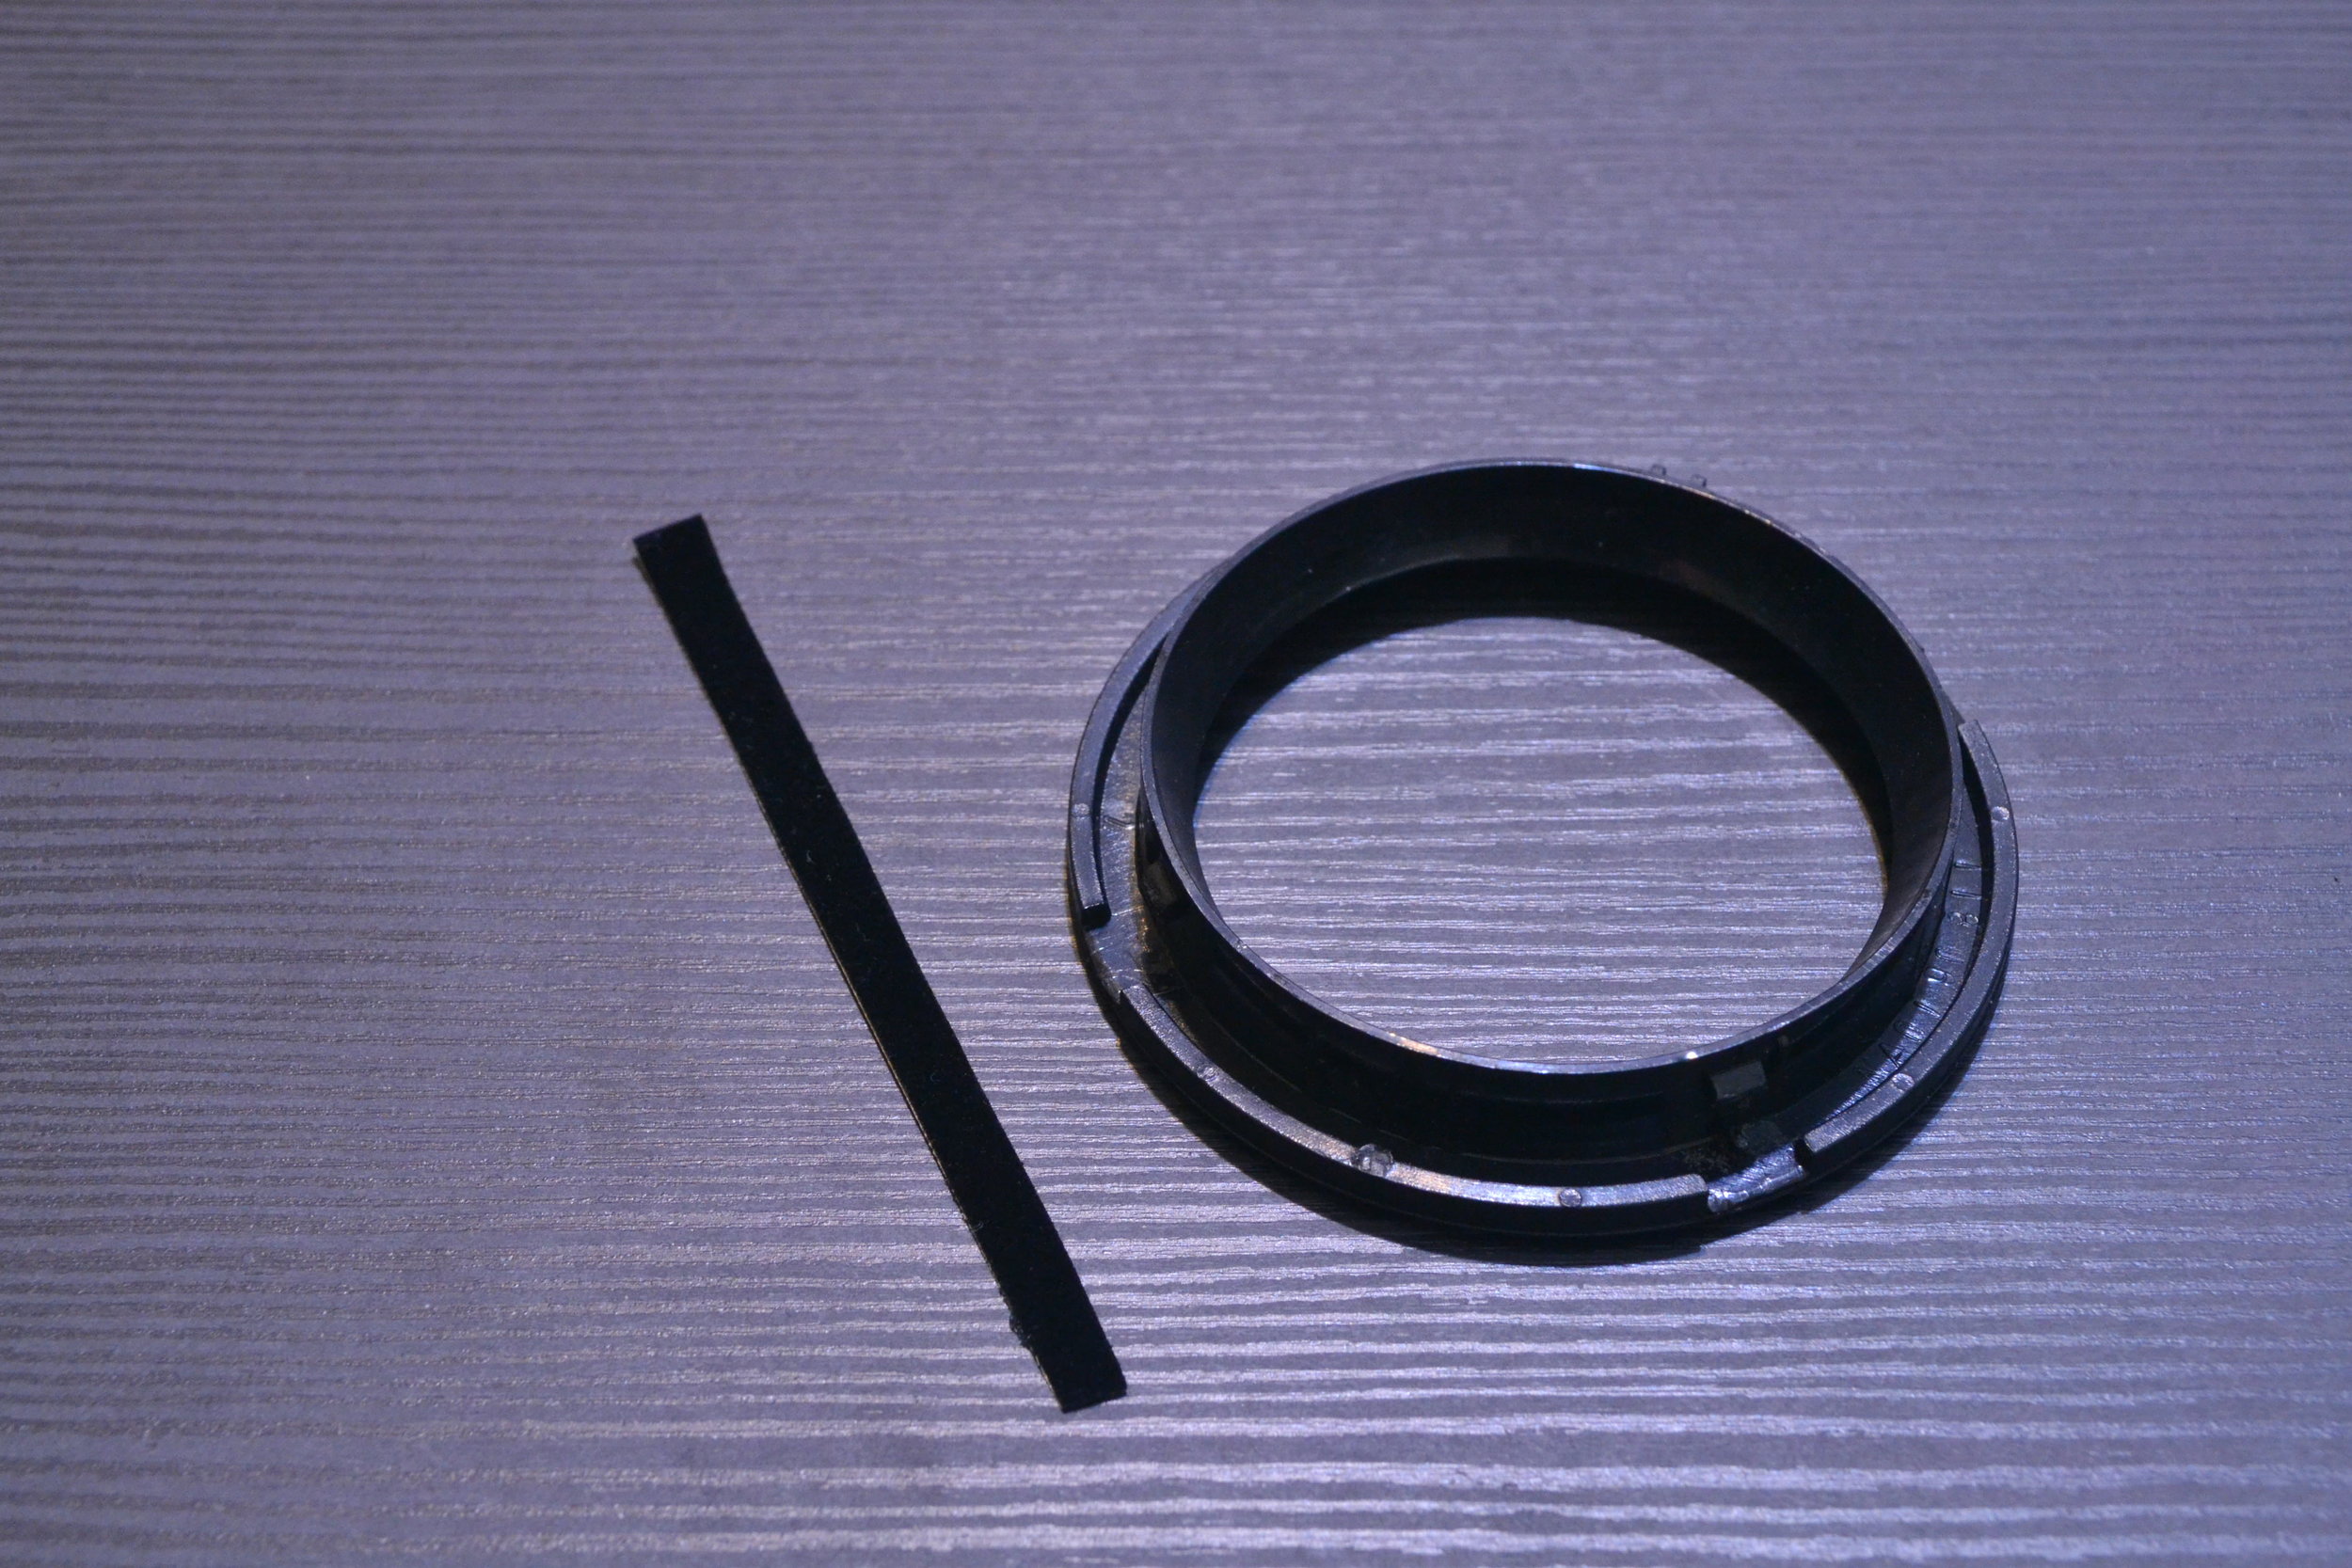
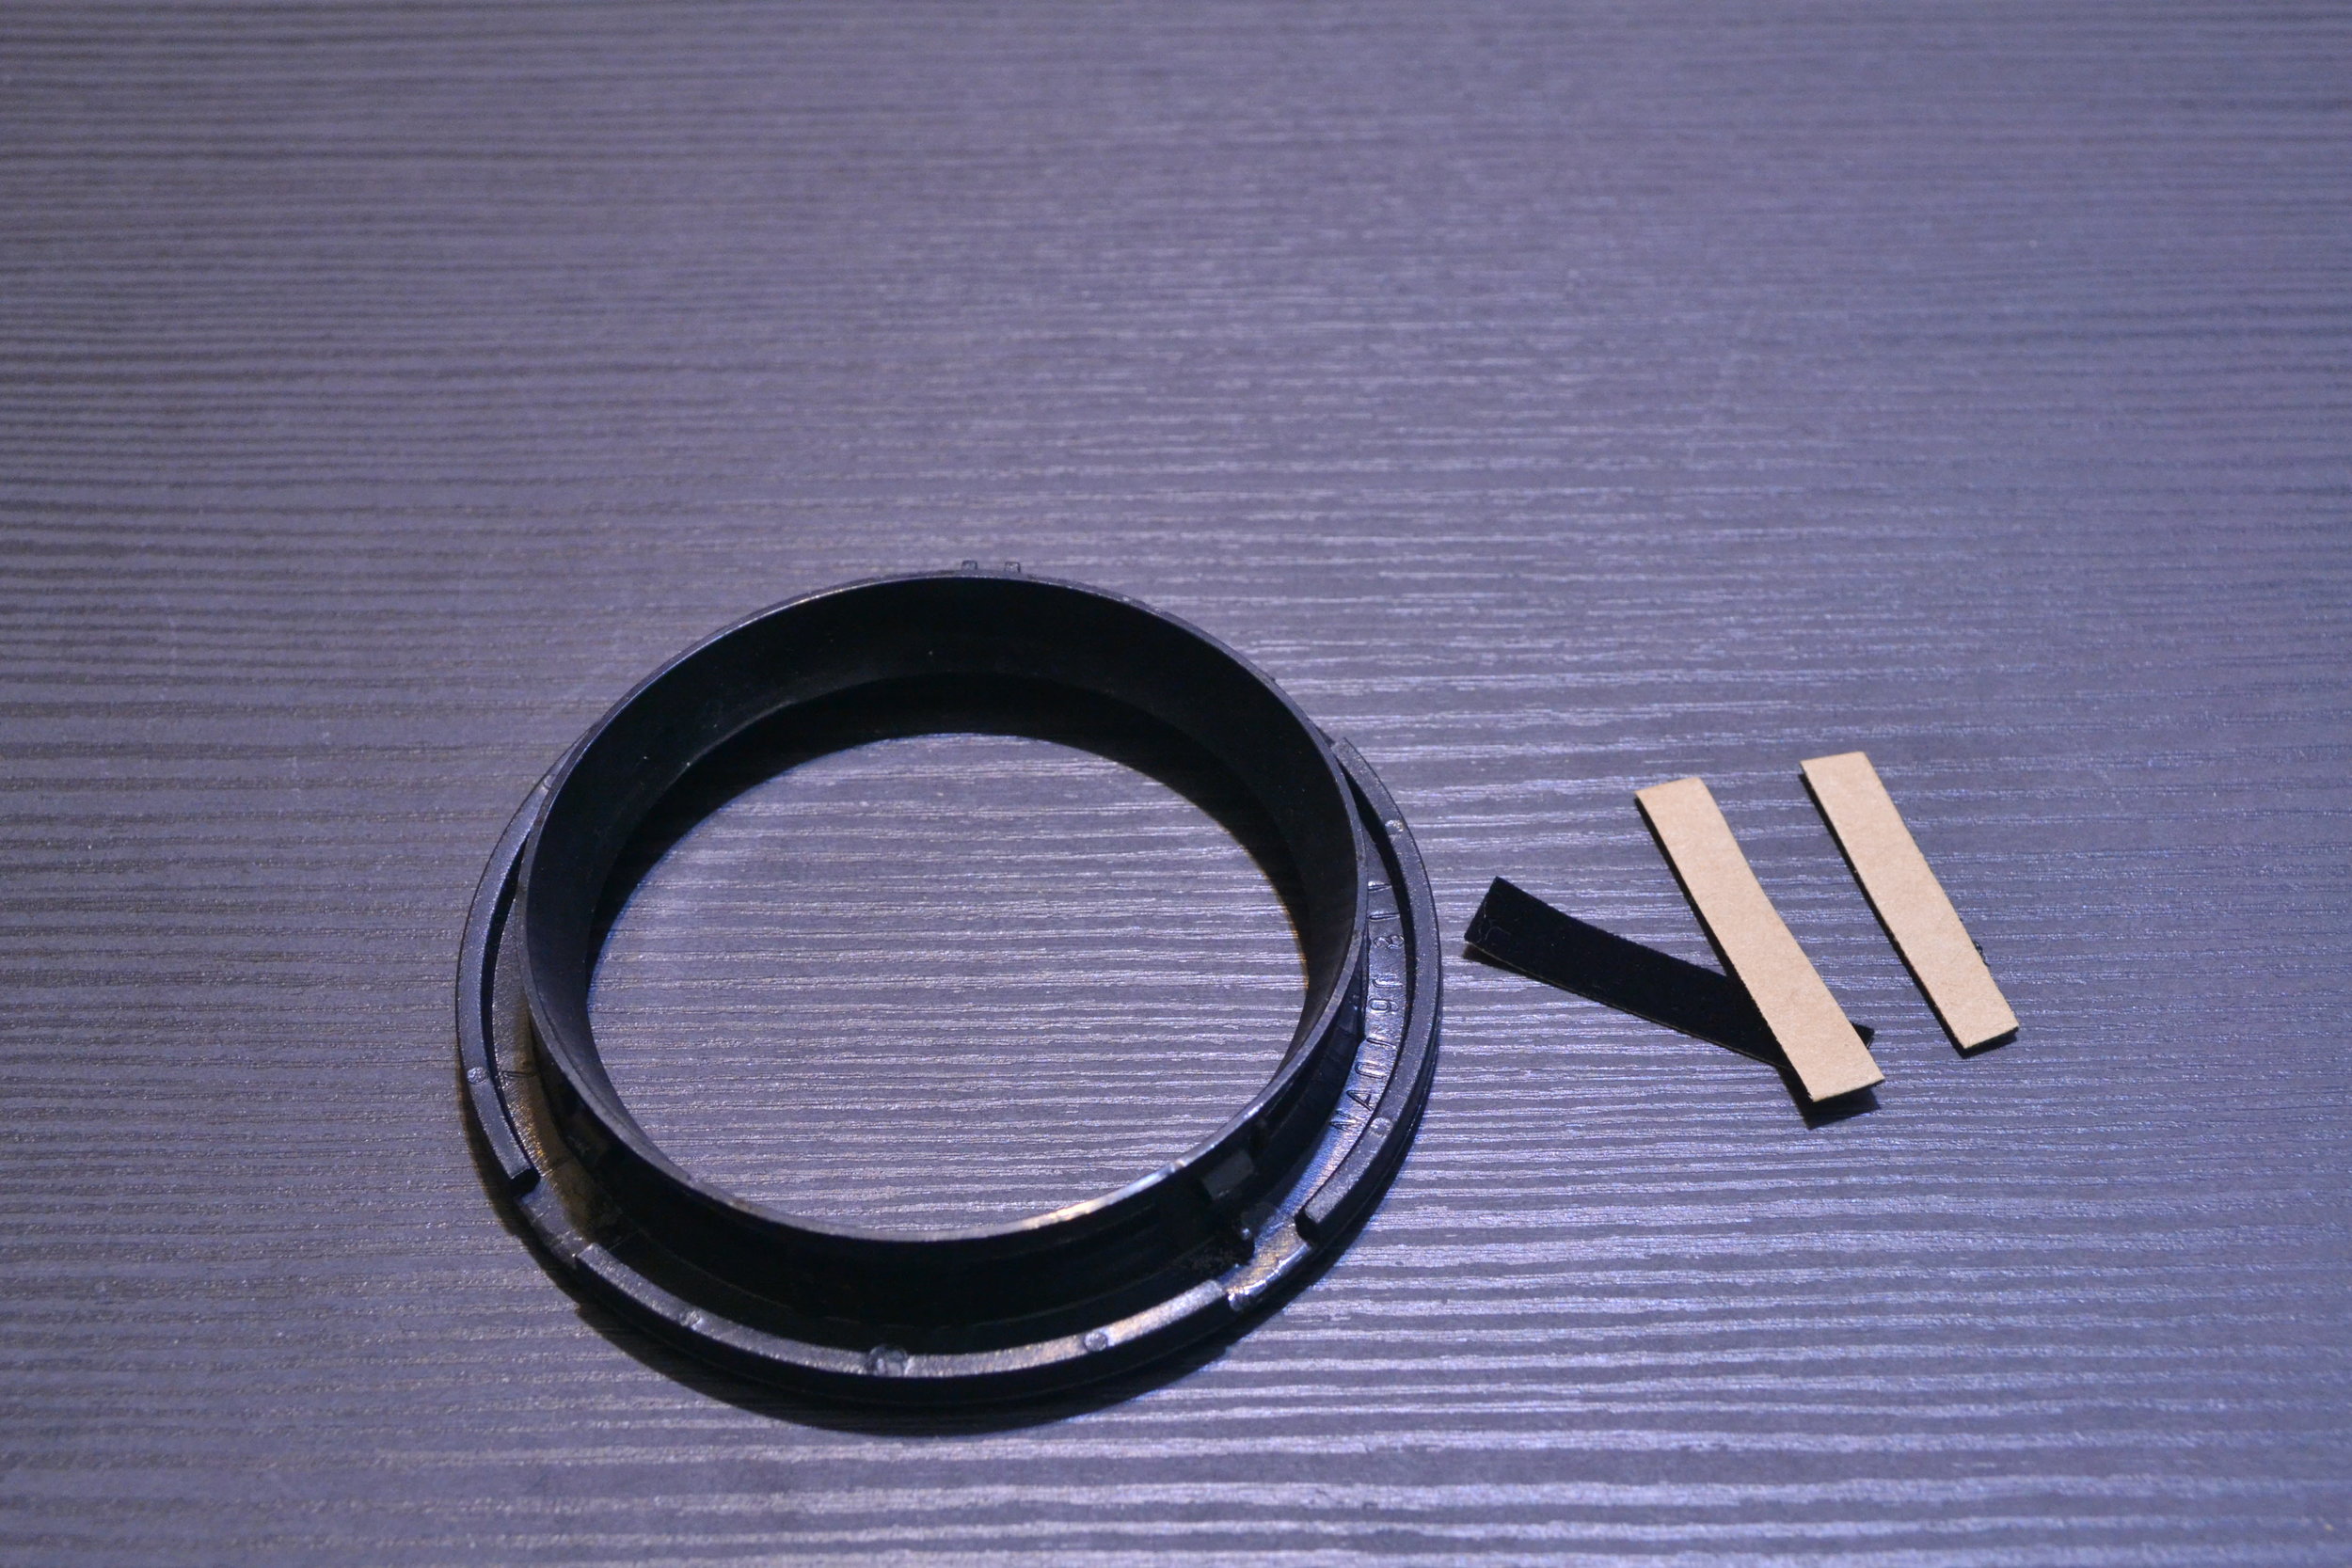
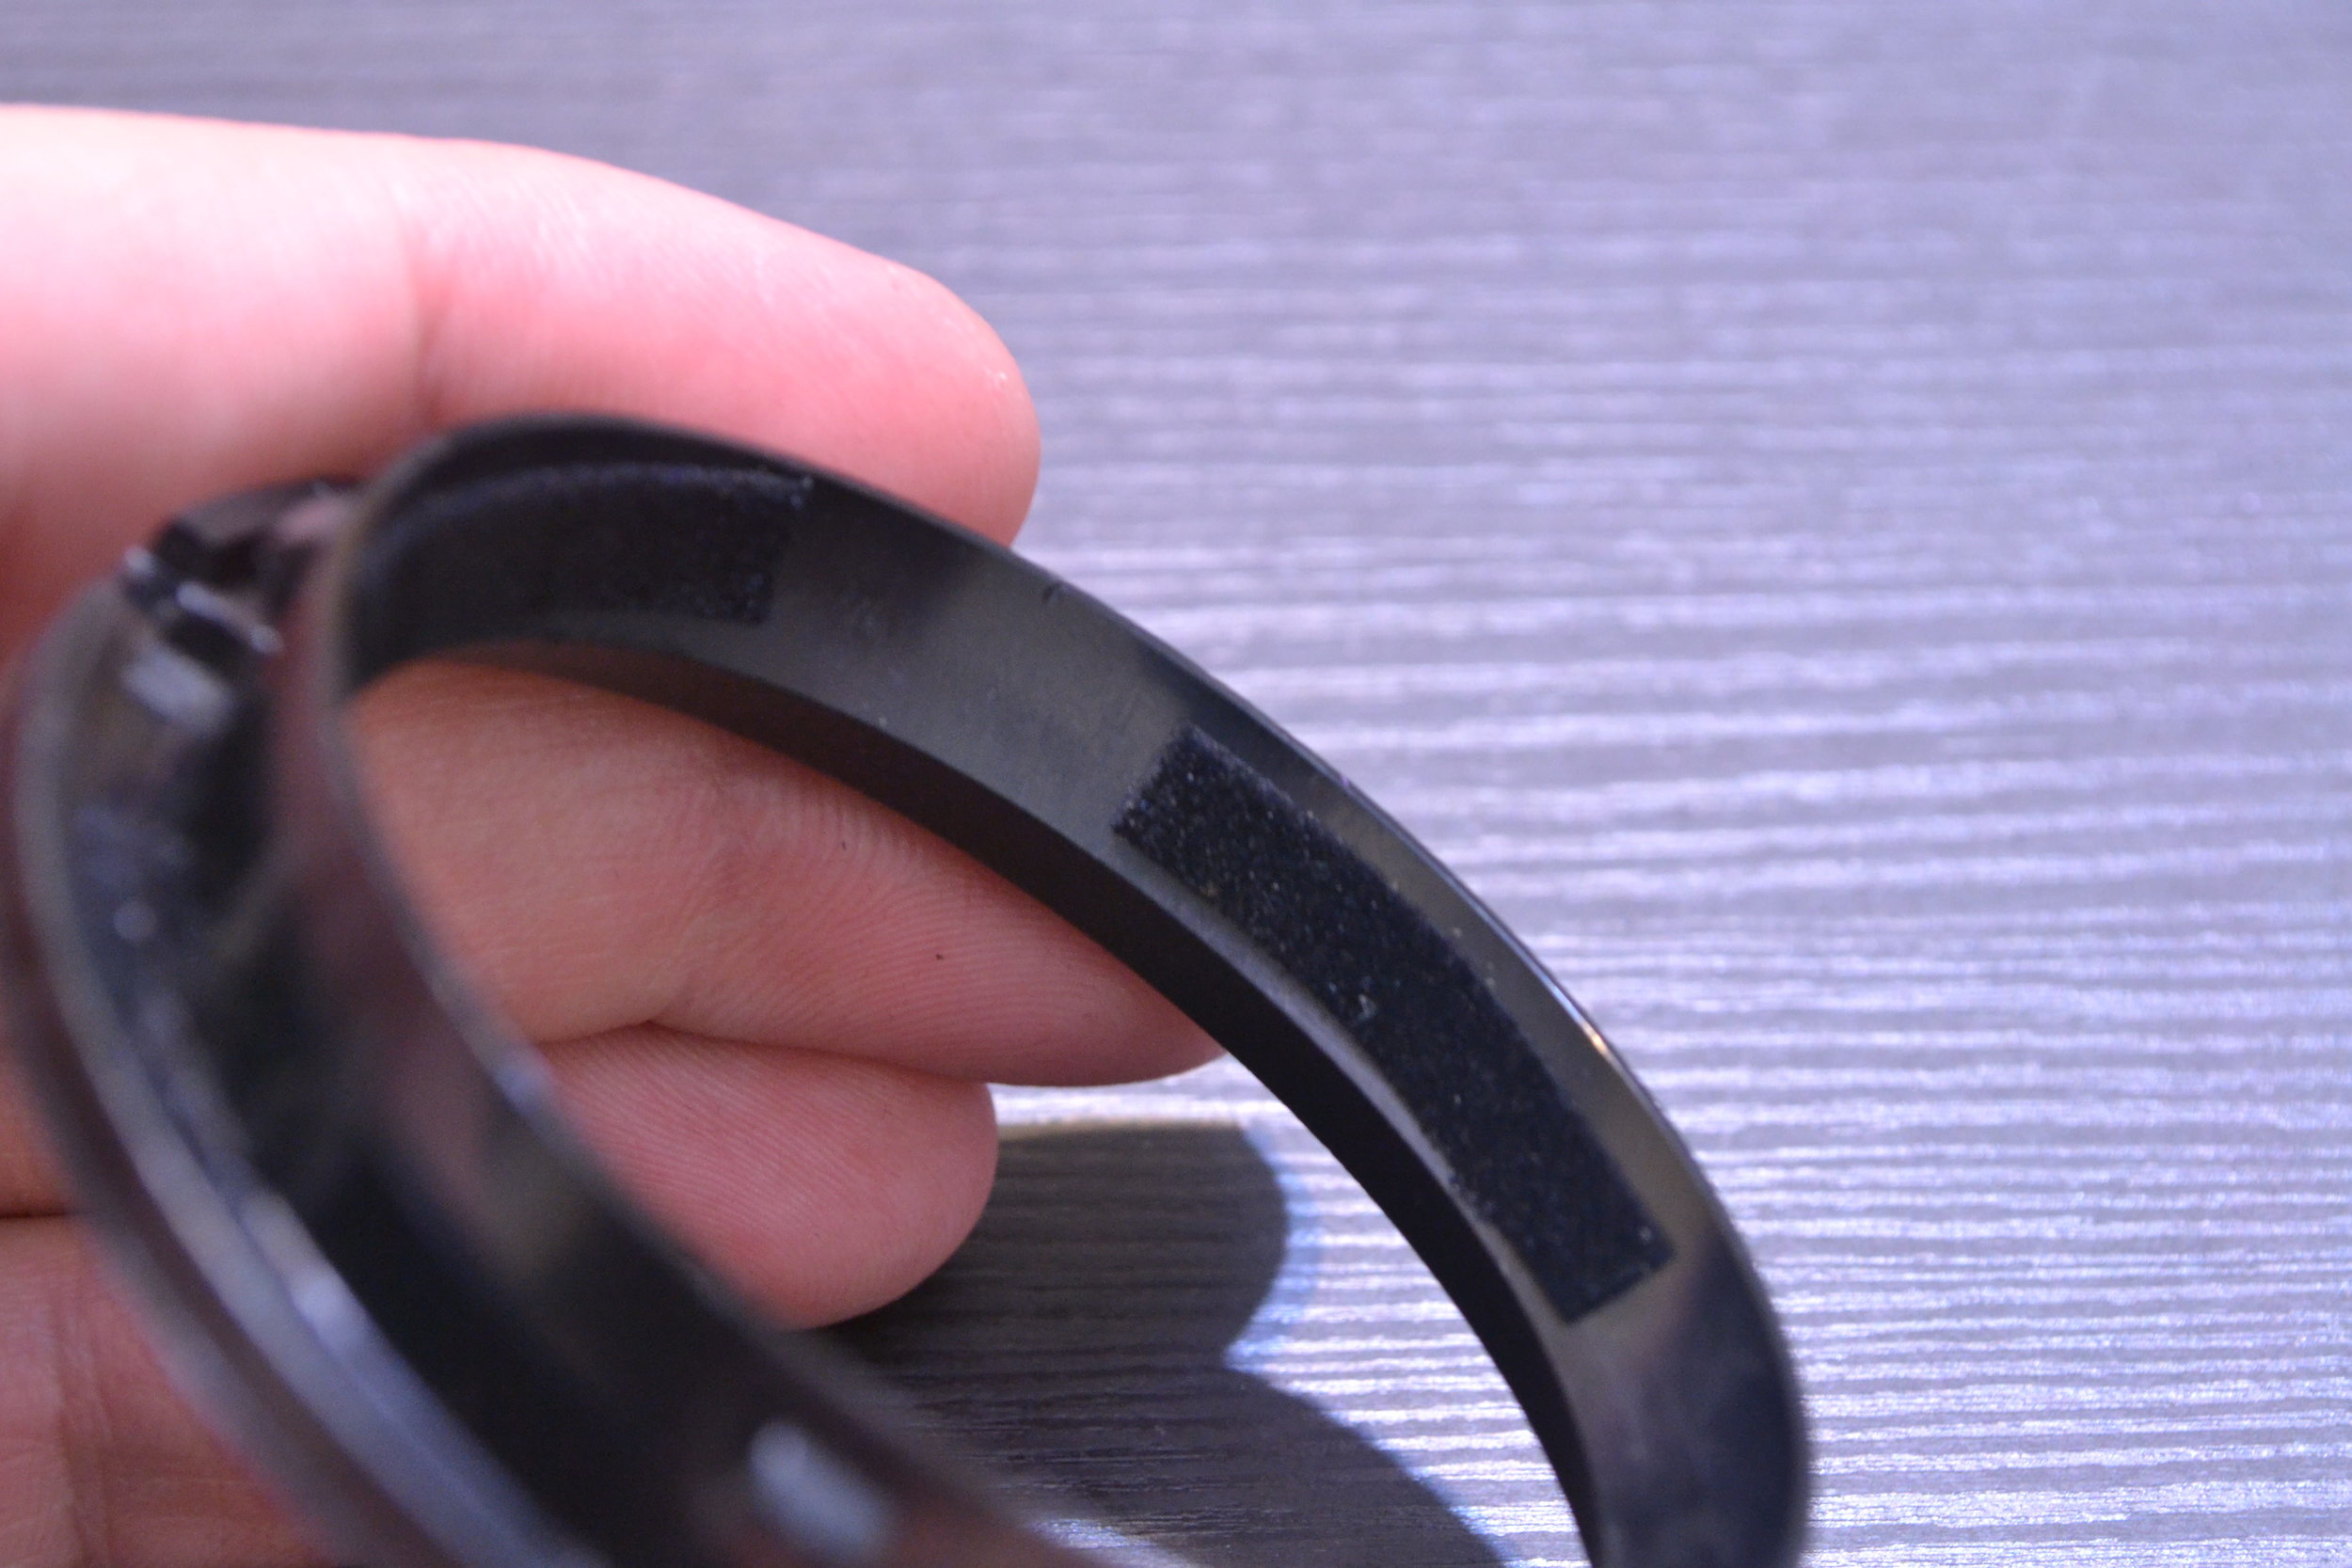
While the main part of re-assembly is simply putting your new custom vents in the old housing and snapping everything back together, there are also a few intermediary steps to make your vents fit as well as factory. I Include some adhesive velvet to add to inside of the front trim ring. Fun fact: NB miatas already come with this, but NAs do not. You may also choose to replace the velvet on your NB if yours seems worn out. I'll include the amazon link to the velvet I use if you would like to order some for yourself and replace all of the velvet in the housing. Using your eye, or a measurement device, cut the velvet into thin strips and stick them on the inside of the trim ring. I usually use 3-4 short strips. See picture for an example of what I add. At this time, you may choose to wipe down the housing of the vent, or where they fit to the dash to remove the up to 25 year old dust that has accumulated.
Step 4: Re-Assembly
The procedure for reassembly is the opposite the first 2 steps. Just simply push the vent back into the housing, face it forward, and push the front trim ring back on. Make sure the ring clicks all the way in. often times the clips have clicked in, but the whole ring needs to click a little further. When all of your vents are assembled, bring them back to the car and just push them back into place. Make sure you line up the indents on the vents with the springs in the dash. The middle two have springs at 3 o'clock and 9, while the side ones have their springs about 45 degrees rotated from that.

And that's it! Hope this has helped and wasn't too long winded. I like to include as much detail as possible in the hopes it makes things easier to understand. Thanks for reading and come back soon for more posts in the new year, and maybe even some Youtube videos in the near future!